Planner stickers are like tiny bursts of joy that brighten up our daily routines. Whether you’re a seasoned planner enthusiast or just starting out, creating your own stickers adds a personal touch to your planner. Let’s explore some delightful ways to make your own planner stickers at home!
Contents
1. Design Your Stickers
Free Online Software
Start by designing your stickers using free online software. You don’t need fancy tools—platforms like Avery Design and Print Online (ADPO) allow you to create custom stickers effortlessly. Play with shapes, colors, and fonts to match your style.
2. Choose Your Sticker Shapes and Sizes
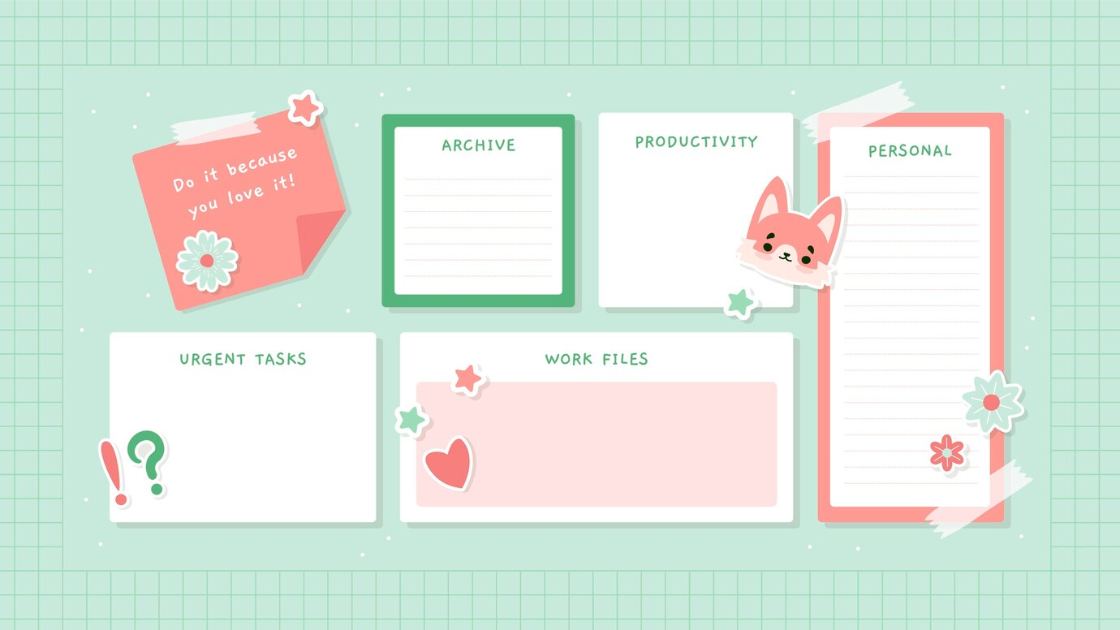
Customize to Fit Your Planner
Consider the layout of your planner. Do you want square stickers, circles, or unique shapes? Measure your planner boxes and choose sticker sizes accordingly. Remember, variety adds flair!
3. Add Design Elements
Get Creative!
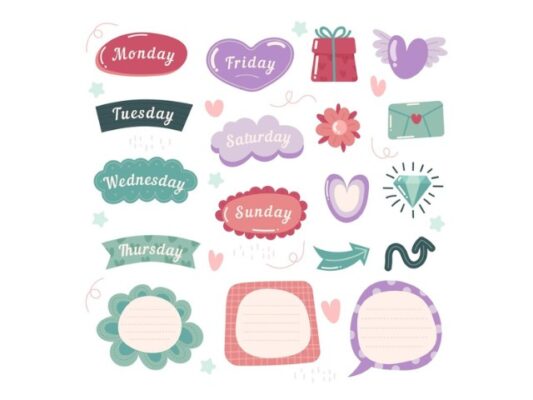
Think about what you’d like to see in your planner. Inspirational quotes, cute icons, or themed stickers? Let your imagination run wild. You can even scan your own doodles or use digital clip art.
4. Design Your Stickers
Layout and Composition
Arrange your design elements on your chosen canvas. Make sure they fit within your sticker dimensions. Don’t overcrowd—simple and clear designs work best.
5. Print Your Stickers
Home Printing or Professional Printing
Print your stickers at home using a good quality printer. Opt for sticker paper or label sheets. If you prefer professional printing, many local print shops offer this service.
6. Cut Them Out
Precision Matters
Now comes the satisfying part—cutting out your stickers! You have options:
- Scissors: Old-school but effective. Cut along the edges of your designs.
- Craft Cutting Machines: If you have one (like a Cricut), let it do the intricate cutting for you.
7. Organize and Store
Keep Them Handy
Store your stickers in an accessible way. Use small envelopes, plastic sleeves, or a dedicated sticker organizer. Label them by theme or month for easy retrieval.
8. Decorate Your Planner
Let the Sticking Begin!
Place your stickers in your planner. Use them for appointments, reminders, habit trackers, or just to add some pizzazz. Mix and match—there are no rules!
Tips and Tricks
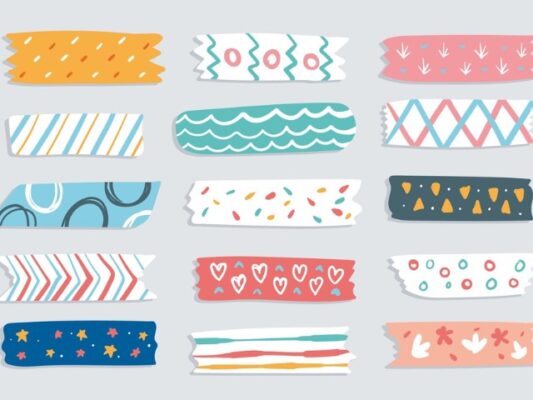
- Layered Stickers: Create depth by layering stickers. Stick a smaller one on top of a larger one for visual interest.
- Transparent Stickers: Print on clear sticker paper for a seamless look.
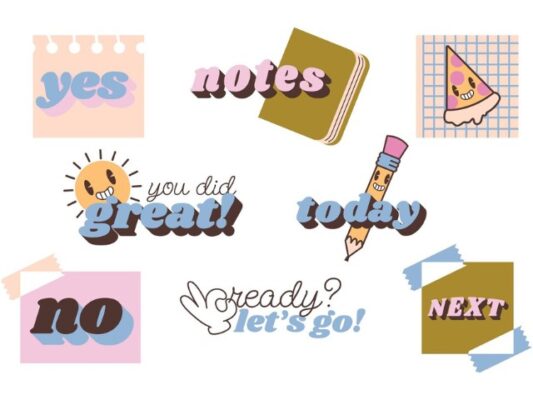
- Functional vs. Decorative: Balance practical stickers (like dates and to-do lists) with decorative ones (like cute animals or motivational phrases).
Get Crafting!
Express Yourself
Making your own planner stickers is not only practical but also therapeutic. It’s a chance to infuse your personality into your planner. So grab your design software, unleash your creativity, and let your stickers tell your story! Feel free to experiment with different styles, themes, and colors. Your planner stickers are a reflection of you—make them uniquely delightful! 🌟📅✨